Here’s how to prepare your mix for mastering: take the limiter off your master bus, leave your loudest peaks around -6 dB, and export a WAV at your session’s sample rate. For my standard master, send that main mix plus a matching instrumental mix.
This guide covers headroom, loudness, export settings, and the files to send.
01 / HEADROOMHow much headroom should you leave for mastering?
Keep your loudest peaks around -6 dB. That’s the starting point in my File Prep Guide; the linked guides below land between about -6 and -3 dB true peak.
Headroom leaves room for the mastering chain to work without the peaks already being flattened. Check the loudest moments of the song.
| Source | Loudest peaks before mastering |
|---|---|
| My File Prep Guide (luiscancion.com) | around -6 dB on the master fader |
| Sage Audio, “How to Prepare Your Mix for Mastering” | between -6 and -3 dBTP, no limiter |
| LANDR help center | about 6 dB of headroom |
Scroll the table sideways to see every column.
Sources read Oct 31 2026. dBTP means decibels true peak. The guides use slightly different meter terms; the practical point is to leave space and avoid clipping.
“Aim for your loudest peaks sitting around -6 dB, not kissing 0 dB.”
That’s the level guidance in my free file-prep guide. Listen through your loudest section before you export, then check the exported file too.
02 / LIMITERShould you leave a limiter on your mix?
No. Take the limiter, maximizer or any “loudness” plugin off the master bus before you export. Loudness is the master’s job.
If a bus compressor is part of your mix’s sound, say so in your notes.
If you made a loud version to show the artist, send it as a clearly labeled reference, alongside the mix to master. Keep those files distinct.
03 / LOUDNESSHow loud should your mix be before mastering?
Don’t target a loudness number on the mix. Streaming loudness targets apply to the finished master.
Spotify for Artists says it normalizes playback to about -14 LUFS integrated and recommends true peaks below -1 dBTP, or below -2 dBTP for masters louder than -14 LUFS (read Oct 31 2026).
That’s Spotify’s guidance for delivered masters. It isn’t an instruction to push your unfinished mix into a limiter until the meter matches, and it isn’t a loudness promise for your song.
04 / EXPORTWhat export settings should you use?
Export a WAV at your session’s sample rate, 24-bit or 32-bit float, covering the whole song from start to end. Leave normalizing off.
| Setting | Use | Avoid |
|---|---|---|
| Format | WAV | MP3 or other compressed files |
| Bit depth | 24-bit, or 32-bit float if your DAW offers it | 16-bit |
| Sample rate | the session’s own rate | converting before sending |
| Length | the whole song, start to finish, tails included | cutting off reverb tails |
| Processing | limiter and loudness plugins off | normalizing on export |
| Fades | none unless part of the song | fades added “to be safe” |
Scroll the table sideways to see every column.
Keep the reverb tails and the ending intact. If a fade is part of the song, keep that musical decision; otherwise, don’t add a fade just because you’re exporting for mastering.
Play the exported WAV before you send it. Make sure it’s the version you approved, with the full opening and ending intact.
05 / FILESWhich files do you send for standard vs stem mastering?
For standard mastering, send your final main mix and matching instrumental; for stem mastering, send up to four grouped files from the same start point. These are the file requirements for my mastering service.
| Service | Files | Details |
|---|---|---|
| Standard mastering ($124) | final main mix + matching instrumental mix | instrumental sent separately so it gets its own master |
| Stem mastering ($200) | up to 4 files: vocals · drums · bass · all melody instruments together | all exported from the same start point, song title in the file names |
| Both | a private download link | artist name, song title, service, checkout email, references, notes |
Scroll the table sideways to see every column.
Service and file details: luiscancion.com/mastering, read Oct 31 2026.
Supply the instrumental separately so it gets its own master. If you don’t have a matching instrumental yet, ask before you buy.
For stem mastering, group the parts as vocals, drums, bass, and all melody instruments together. Export every group from the same start point so they line up, and put the song title in the file names.
Send a private download link with your artist name, song title, service, checkout email, references and notes. Keep the link available until the studio confirms receipt.
06 / READY OR NOTHow do you know your mix is ready for mastering?
Your mix is ready when you’ve finished the balance, it translates across playback systems, and nothing clips. Mastering starts after those mix decisions are settled.
- You’ve stopped changing it: you’re happy with the mix itself, rather than hoping mastering will settle an unfinished decision.
- It translates: check the car, earbuds and speakers. Here’s how to tell if a mix will translate.
- The vocal sits where you want it: you aren’t still moving it up and down every time you listen.
- Nothing clips: check the mix and the export, including the loudest section.
If you’re still fixing the vocal level or the low end every time you listen, don’t pay for mastering yet. That’s a mix, and mastering won’t save it.
“Mastering starts with your finished mix.”
If the song still needs mixing, my mix & master packages include mastering. Choose the stage your song actually needs.
07 / CHECKLISTWhat’s on the pre-mastering checklist?
Check the processing, peaks, export and file package before you send your mix. Use this pre-mastering checklist for the final pass.
08 / QUICK ANSWERSFAQ: What else should you know before sending your mix?
Leave headroom, export the finished mix, and send the files for the service you chose. Here are the quick answers to the common prep questions.
How much headroom should I leave for mastering?
Keep your loudest peaks around -6 dB. Most guides land between -6 and -3 dB true peak. Headroom sources (read Oct 31 2026).
Should I put a limiter on my mix before mastering?
No. Take it off before you export; loudness is the master’s job.
What LUFS should my mix be before mastering?
Don’t target one on the mix. Streaming loudness targets, like Spotify’s -14 LUFS normalization, apply to the finished master. Spotify for Artists (read Oct 31 2026).
What sample rate and bit depth should I export at?
Your session’s own sample rate, as a 24-bit or 32-bit float WAV. Don’t convert it before sending.
Do I need to send an instrumental for mastering?
For my standard master, yes: send your main mix and a matching instrumental mix, and you get both back mastered.
What stems do you need for stem mastering?
Up to four files: vocals, drums, bass, and all melody instruments together, all exported from the same start point.
What if my mix isn’t finished?
Don’t master it yet. If it needs mixing, every one of my mix tiers includes mastering.
How long does mastering take?
5–7 business days after payment and complete files.
Send me your mix
Finished mix: standard ($124) or stem ($200) mastering. Still mixing? Every mix tier in the Builder includes mastering.
THE PRESET VAULT
Mixing yourself first? My Logic Pro mix template and vocal presets are in the Preset Vault.
LET’S TALK ABOUT YOUR SONG
Not sure your mix is ready? Book a 30-minute consult ($49.99), try a $100 test mix on a short clip, or send me a message.
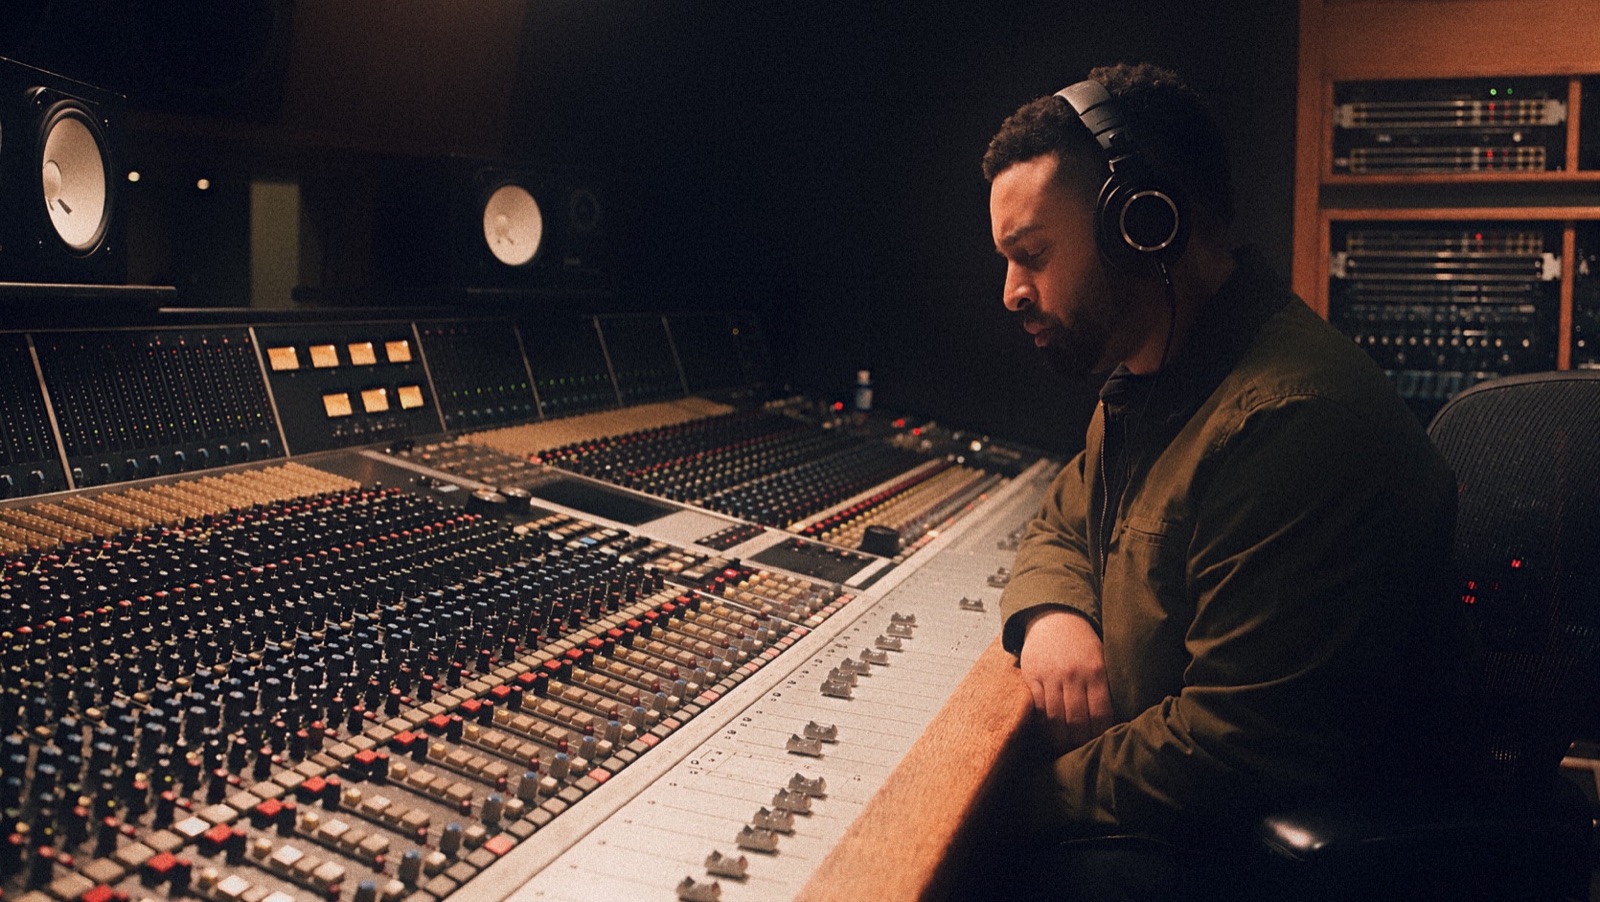
Award-winning mix engineer and producer. Dove Award–nominated records with Social Club Misfits & Lecrae, and work for Warner Music Group and Universal Music Group.